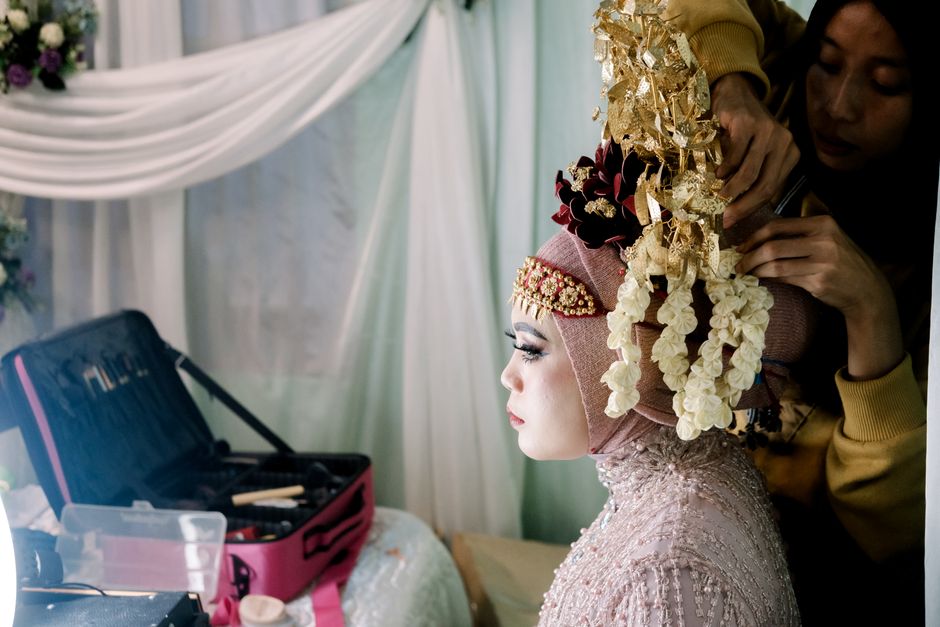
You spent months planning the dress, the venue, the seating chart. But the one thing that can derail your entire day in under ten minutes is foundation that slides off your nose by the time you cut the cake. So let’s fix that. This is the bridal makeup tutorial built for tears, sweat, champagne, and a 12-hour wear window.
Why Most Bridal Makeup Looks Great at 9 AM and Terrible at 9 PM
The problem isn’t the foundation you bought. It’s the prep you skipped. Bridal makeup has to survive conditions your daily makeup never faces: emotional crying, warm venue lights, hugging dozens of people, and eating dinner while keeping your lip color intact.
Most brides make three mistakes:
- They skip primer or use the wrong one for their skin type. Oily skin needs a mattifying primer. Dry skin needs a hydrating, grippy base. Using the wrong primer guarantees separation by hour four.
- They over-powder thinking that stops shine. Heavy powder layers crack and settle into fine lines under bright photography. A light dusting with a setting spray lock-in works better.
- They use non-waterproof mascara. One happy tear and you’ve got raccoon eyes for the rest of the reception. Waterproof formulas exist for a reason. Use them.
Fix these three things and you’ve already eliminated 80% of the common bridal makeup failures.
The Exact Product Order That Locks Everything in Place
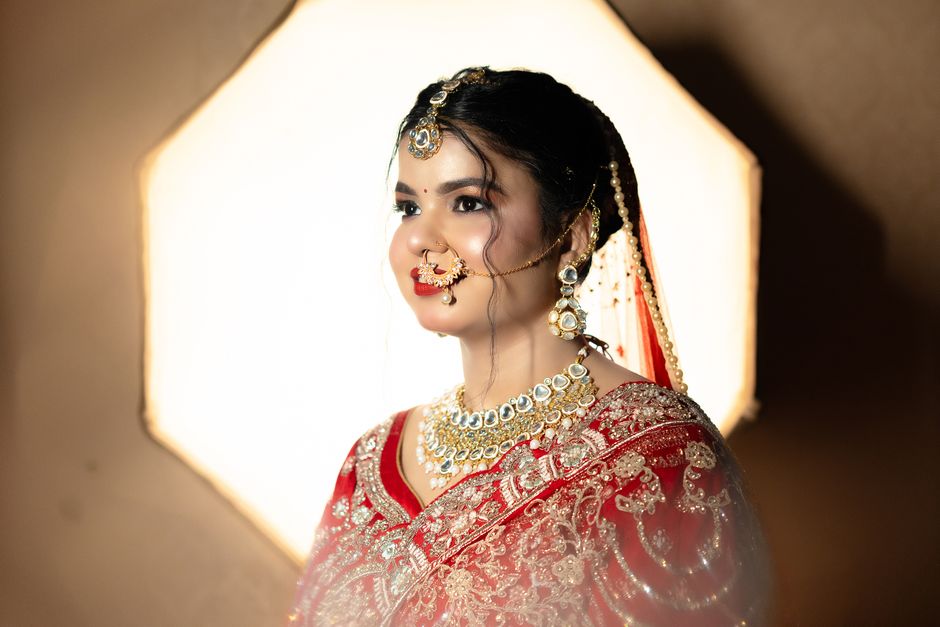
Application order matters more than the brand of your foundation. Here’s the sequence that prevents creasing, fading, and separation.
Step 1: Skin Prep (15 Minutes Before Makeup)
Wash your face, apply a lightweight moisturizer, then wait five minutes. Follow with a primer suited to your skin type. For oily skin, the Smashbox Photo Finish Control Mattifying Primer ($42) controls shine without drying. For dry skin, the Milk Makeup Hydro Grip Primer ($42) creates a tacky surface that holds foundation in place during tears or humidity.
Step 2: Foundation Application
Use a damp beauty sponge, not a brush. Brushes leave streaks that show in photos. The Fenty Beauty Pro Filt’r Soft Matte Longwear Foundation ($40) has 50 shades and stays matte without looking flat. Apply thin layers — build coverage only where needed. Thick layers crack under photography flash.
Step 3: Concealer and Setting
Apply concealer only to spots and under-eyes. The NARS Radiant Creamy Concealer ($32) covers dark circles without creasing. Set with a translucent powder — the Laura Mercier Translucent Loose Setting Powder ($44) is the industry standard. Use a small puff, press it into the skin, don’t sweep.
Step 4: Eyes and Lips
Waterproof mascara is non-negotiable. The Lancôme Monsieur Big Waterproof Mascara ($28) holds curls through anything. For lips, a stain topped with a balm lasts longer than liquid lipstick alone. The Benefit Benetint Lip & Cheek Stain ($20) gives a natural flush that won’t transfer onto your partner’s collar.
Step 5: Setting Spray
This is the final lock. The Urban Decay All Nighter Setting Spray ($34) is proven to extend wear by up to 16 hours. Hold it 8 inches from your face, mist in a cross pattern, let it dry naturally. Do not fan it or touch your face while it dries.
What to Do If You Start Crying (Because You Will)
Let’s be real — you’re going to cry at some point. Happy tears, emotional vows, your mom’s speech. The goal isn’t to avoid crying. The goal is to make sure your makeup survives it.
Here’s what to have in your emergency kit:
- Blotting papers: The Tatcha Aburatorigami Japanese Beauty Papers ($12) absorb oil without disturbing your makeup. Press, don’t rub.
- Mini setting spray: Travel-sized Urban Decay All Nighter ($16) for a quick refresh after crying.
- Cotton swabs: For dabbing away mascara smudges without ruining your shadow.
- Lip stain backup: A small tube of Benetint to reapply after eating.
Do not use tissues. Tissues leave lint and remove product. Blotting papers and cotton swabs are your friends.
When to Skip the Full Face and Do a Minimal Bridal Look
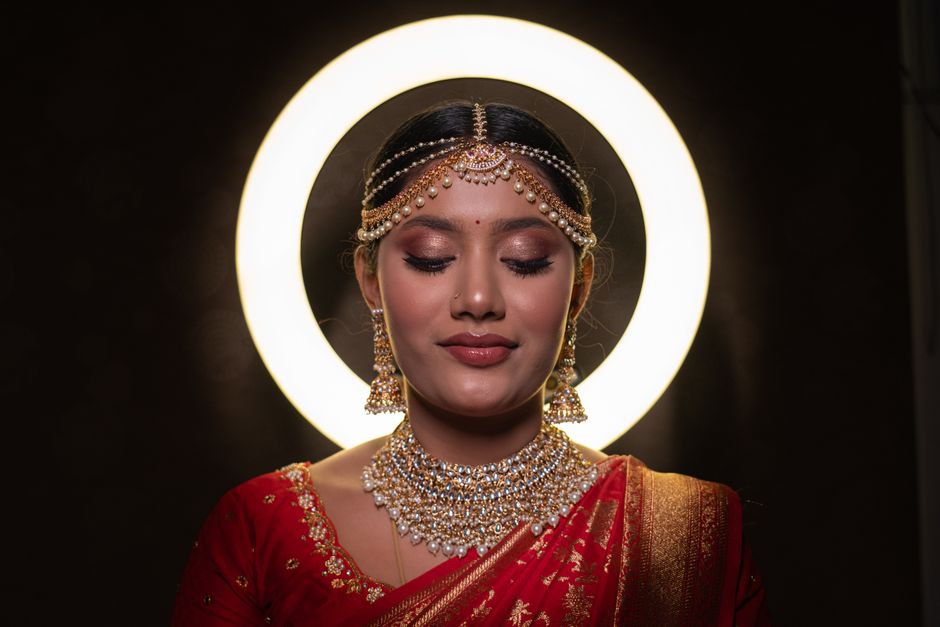
Not every bride wants a full-coverage, matte, Instagram-filter look. And that’s fine. A minimalist bridal makeup approach works better for outdoor weddings, hot climates, or if you rarely wear makeup and don’t want to look like a different person on your wedding day.
The tradeoffs are real: lighter coverage means less hiding of blemishes or redness. But it also means less risk of cakey texture in photos and less maintenance throughout the day.
For a minimal look, swap the full-coverage foundation for a tinted moisturizer like the Laura Mercier Tinted Moisturizer Natural Skin Perfector ($48). Use the same waterproof mascara and lip stain. Skip the heavy powder — just set your T-zone with a light dusting. You’ll look like a better version of yourself, not a mask.
When NOT to go minimal: if you have very oily skin, if your wedding is indoors with professional photography, or if you’re prone to redness that shows under bright lights. In those cases, the full routine above is safer.
Bridal Makeup Breakdown: Full Face vs. Minimal Look
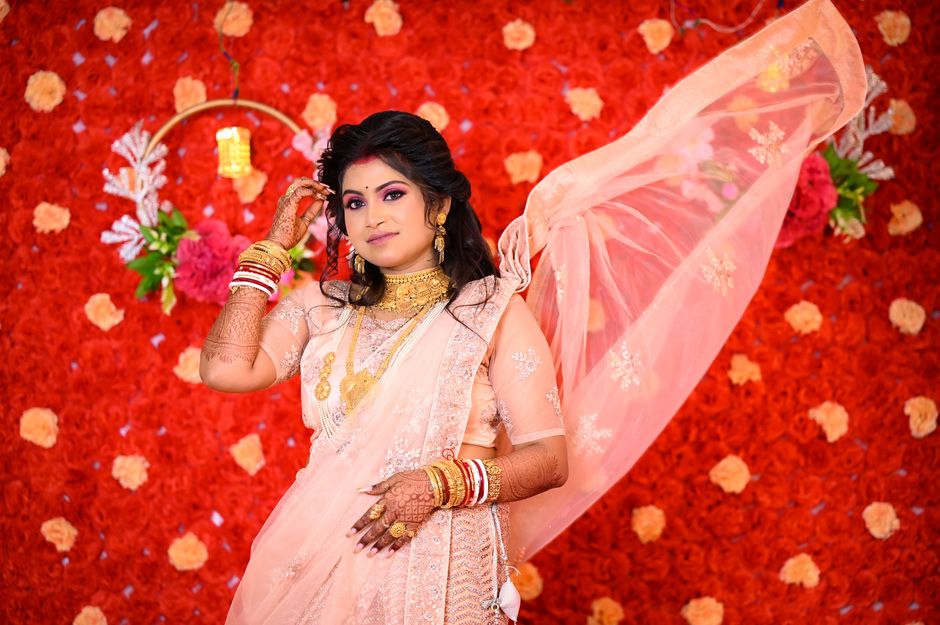
| Feature | Full Face (Long-Wear) | Minimal Look |
|---|---|---|
| Foundation | Fenty Pro Filt’r Soft Matte ($40) | Laura Mercier Tinted Moisturizer ($48) |
| Primer | Smashbox Photo Finish Control ($42) | Milk Makeup Hydro Grip ($42) |
| Setting powder | Laura Mercier Translucent ($44) | Light dusting only |
| Mascara | Lancôme Monsieur Big Waterproof ($28) | Same (non-negotiable) |
| Lip product | Benetint + balm ($20) | Benetint alone ($20) |
| Setting spray | Urban Decay All Nighter ($34) | Optional |
| Best for | Indoor, formal, oily skin | Outdoor, casual, dry skin |
| Total cost | ~$188 | ~$110 |
The bottom line: If you want your makeup to last from the morning prep through the last dance, invest in the full-face routine with the primer, waterproof mascara, and setting spray. If you want to feel more like yourself with less maintenance, go minimal — but don’t skip the waterproof mascara. That’s the one rule you don’t break.