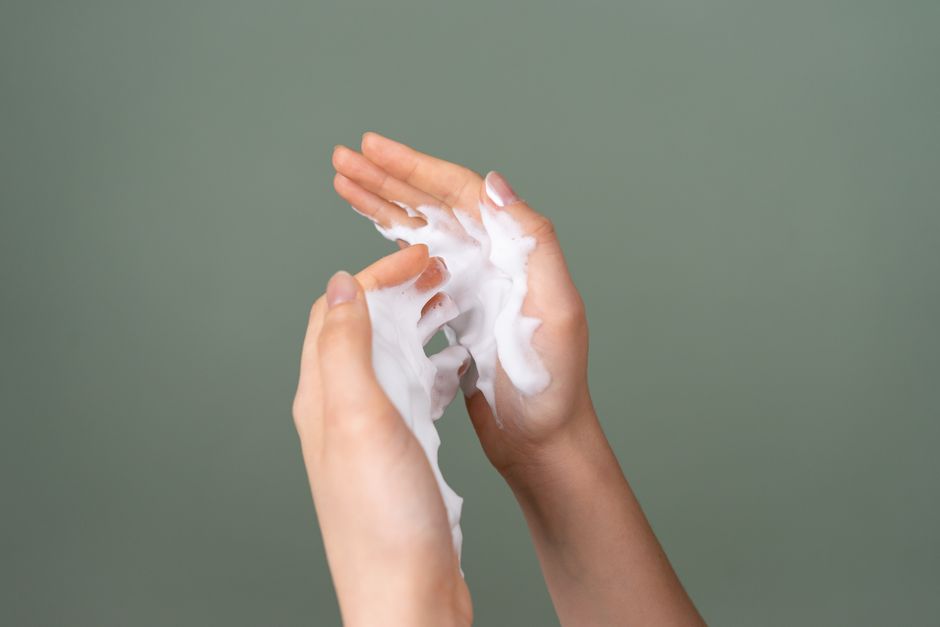
Your face feels tight by 11 a.m. Foundation clings to dry patches you didn’t know existed. You’ve tried the thick moisturizers, the overnight masks, the “intensive repair” creams that promise miracles in a jar. Nothing works. Or worse, it works for an hour, then the tightness creeps back.
Here’s what’s actually happening: your skin isn’t just dry. It’s dehydrated. And no amount of heavy cream will fix that if you’re not putting water back into the skin first.
The 7-Skin Method fixes this. Not by adding more products. By using one product differently.
What the 7-Skin Method Actually Is (It’s Not What TikTok Says)
The name is misleading. “7-Skin” doesn’t mean seven layers of skin. It doesn’t even mean you must apply seven layers. It means applying a hydrating toner in multiple thin layers, tapping each one in until it absorbs, then going again. The number 7 is a Korean metaphor for “as many as your skin needs.”
Three layers might be enough. Five might be your sweet spot. Seven is the maximum, not the rule.
The method came from Korean skincare routines in the mid-2010s, back when 10-step routines dominated the conversation. Aestheticians noticed clients were over-exfoliating with harsh acids and stripping cleansers, then slathering on heavy creams that sat on top of dehydrated skin. The fix? Put the moisture inside the skin, not on top of it.
Thin layers of a watery, humectant-rich toner penetrate deeper than one thick layer of cream ever could. Each layer pushes hydration further down before the water evaporates. By layer three or four, your skin stops feeling like it’s drinking and starts feeling like it’s full.
The fundamental principle: hydration is a stacking process, not a one-and-done event. You wouldn’t water a plant by dumping a bucket on it once a month. Same logic applies here.
Who Should Try This (And Who Absolutely Shouldn’t)
This method isn’t for everyone. Get this wrong and you’ll trigger breakouts, irritation, or perioral dermatitis. Here’s the breakdown.
Do this if:
- Your skin feels tight after cleansing but gets oily by midday
- You live in a dry climate or run air conditioning/heating constantly
- You use tretinoin, adapalene, or other retinoids and battle flaking
- Your moisturizer just sits on top of your skin instead of sinking in
- You have dehydrated skin that looks dull and crepey
Skip this if:
- You have active fungal acne. The yeast feeds on humectants and ferments. Layering toner will make it worse, fast.
- You live in 90% humidity. Your skin is already pulling moisture from the air. Stacking more can lead to maceration and clogged pores.
- You’re using a toner with actives. Salicylic acid, glycolic acid, strong AHAs — these are not 7-skin toners. One layer is enough. Seven layers of acid is a chemical burn.
- Your skin is genuinely oily, not dehydrated. You’ll know because your skin feels slick, not tight, after washing.
The Toner Matters More Than the Technique
| Toner | Key Ingredients | Best For | Price |
|---|---|---|---|
| COSRX Propolis Synergy Toner | 72.6% propolis extract, 10% honey extract | Dehydrated, dull skin needing glow | $22 |
| Klairs Supple Preparation Unscented Toner | Sodium hyaluronate, beta-glucan, centella | Sensitive, redness-prone skin | $21 |
| Isntree Hyaluronic Acid Toner | 50% hyaluronic acid (3 molecular weights) | Extreme dehydration, flaking from retinoids | $19 |
| Haruharu Wonder Black Rice Hyaluronic Toner | Fermented black rice, hyaluronic acid | Dull, tired skin needing antioxidant boost | $24 |
| Pyunkang Yul Essence Toner | 91.3% milk vetch root extract | Ultra-sensitive, reactive skin | $16 |
The wrong toner turns this method into a breakout machine. You need a watery, humectant-heavy formula with zero actives, zero alcohol, and ideally no fragrance. If the toner has a thick, viscous texture, it won’t layer properly. It’ll pill, sit on top, and clog pores by layer three.
My pick for most people: the COSRX Propolis Synergy Toner. The propolis adds a glow that plain hyaluronic acid formulas miss. It’s thin enough to layer five times without getting sticky. For sensitive skin dealing with retinoid irritation, the Klairs Supple Preparation Unscented Toner is better — the beta-glucan calms while it hydrates.
Step-by-Step: How to Actually Do It Without Ruining Your Skin
Most tutorials skip the critical details. They tell you to “pat in seven layers” and leave it there. Here’s what they miss.
Step 1: Start with a clean, damp face
Do not let your skin dry completely after cleansing. The whole point is trapping water in the skin. If your face is bone-dry, the first toner layer is just rehydrating the surface — you’ve already lost the window. Pat your face so it’s damp but not dripping. Apply your first toner layer immediately.
Step 2: Use your hands, not cotton pads
Cotton pads absorb half the product and exfoliate the skin you’re trying to hydrate. Pour a nickel-sized amount into your palm, press your hands together to spread it, then press and pat into your face. No rubbing. No wiping. Just pressing.
Step 3: Wait 15-30 seconds between layers
This is the step everyone rushes. If the previous layer is still wet, the next layer just slides around and evaporates together. You need each layer to get tacky — not dry, but slightly sticky to the touch. That takes 15-30 seconds depending on humidity. In dry climates, closer to 15. In moderate humidity, closer to 30.
Step 4: Stop when your skin stops absorbing
You’ll know. The toner will start sitting on top instead of sinking in. Your skin will feel bouncy and cool to the touch. For most people, that’s three to five layers. Pushing past that point doesn’t add hydration — it just wastes product and risks maceration.
Step 5: Lock it in immediately
Hydration without occlusion evaporates. The second you finish your last layer, apply a moisturizer with occlusives — squalane, shea butter, or a lightweight oil. If you wait, the water you just layered in will evaporate within minutes and your skin will feel tight again. This is the #1 mistake people make.
Common Failure Modes (What Goes Wrong and Why)
Most people who hate the 7-Skin Method didn’t do it wrong. They used the wrong product for their skin type, or they ignored a warning sign. Here’s what breaks.
Breakouts on the forehead and chin within 3 days. You’re either using a toner with comedogenic ingredients (check for butylene glycol sensitivity or fermented extracts if you’re fungal-acne prone) or you’re layering too many times. Drop to two layers and switch to the Pyunkang Yul Essence Toner — it has the shortest ingredient list of the bunch.
Stinging or redness after layer three. Something in your toner is mildly irritating and the repeated application is amplifying it. This happens with fragranced toners or formulas with essential oils. Switch to the unscented Klairs immediately. If the stinging continues, your barrier is compromised and you need to stop all active ingredients for a week before trying again.
Skin feels stickier, not more hydrated. The toner has too many thickeners or the humidity is too high. Either switch to a thinner formula (Isntree Hyaluronic Acid Toner is the thinnest on the table) or reduce layers to two.
Whiteheads around the nose and cheeks. You’re not locking in the hydration, so your skin is overproducing oil to compensate. The excess oil mixes with the layered product and clogs pores. Add a lightweight gel moisturizer immediately after your last layer.
How This Fits Into a Full Routine (Morning vs. Night)

The 7-Skin Method replaces your toner step. It doesn’t replace serums, moisturizers, or sunscreen. Here’s where it slots in.
Morning routine: Water rinse or gentle cleanser → 3-4 layers of toner → lightweight moisturizer → sunscreen. You don’t need seven layers in the morning. Three is enough to plump the skin before makeup without making your sunscreen pill.
Night routine: Double cleanse → (active treatment if using — wait 20 minutes) → 5-7 layers of toner → serum (optional) → moisturizer → facial oil or occlusive. Night is when you go deeper. If you’re using tretinoin, do the toner layers first on damp skin, wait for everything to fully dry, then apply tretinoin. The buffering effect reduces irritation without killing the retinoid’s efficacy.
If your routine already has a hydrating serum, you might not need seven layers. Three layers of toner plus your serum might get you to the same endpoint. Don’t double-stack just because the method says seven.
Is This Better Than Just Using a Hydrating Serum?
No. And yes. Depends on what you’re solving for.
A good hydrating serum — something with multiple weights of hyaluronic acid, glycerin, and panthenol — can achieve similar results in one step. The Vichy Minéral 89 Hyaluronic Acid Serum or The Ordinary Marine Hyaluronics do in one layer what the 7-Skin Method does in five.
But serums cost more per ounce. The Klairs toner is $21 for 180ml. A comparable serum is $30-50 for 30ml. If you’re on a budget and have the patience to layer, the 7-Skin Method gets you the same hydration at a quarter of the cost per application.
The other advantage: control. With a serum, you get one shot at hydration. With layering, you can stop when your skin is satisfied. In summer, that might be two layers. In winter, six. A serum can’t adjust to your skin’s daily needs.
For most people, the real answer is: do both. Two layers of toner in the morning under a lightweight serum. Five layers at night when you have time. The method isn’t a replacement for good products. It’s a way to get more out of the one you already have.